How to Use Challonge to Run Your First Tournament
If you’ve ever tried to build a tournament bracket in a spreadsheet, you know how quickly it falls apart once someone drops out or a match gets rescheduled. Challonge exists to fix that. It’s a web-based tool for creating and running tournament brackets, and it’s become a go-to option in gaming and esports communities, though plenty of local sports leagues, trivia nights, and office competitions use it too.
Here’s how to actually get one running.
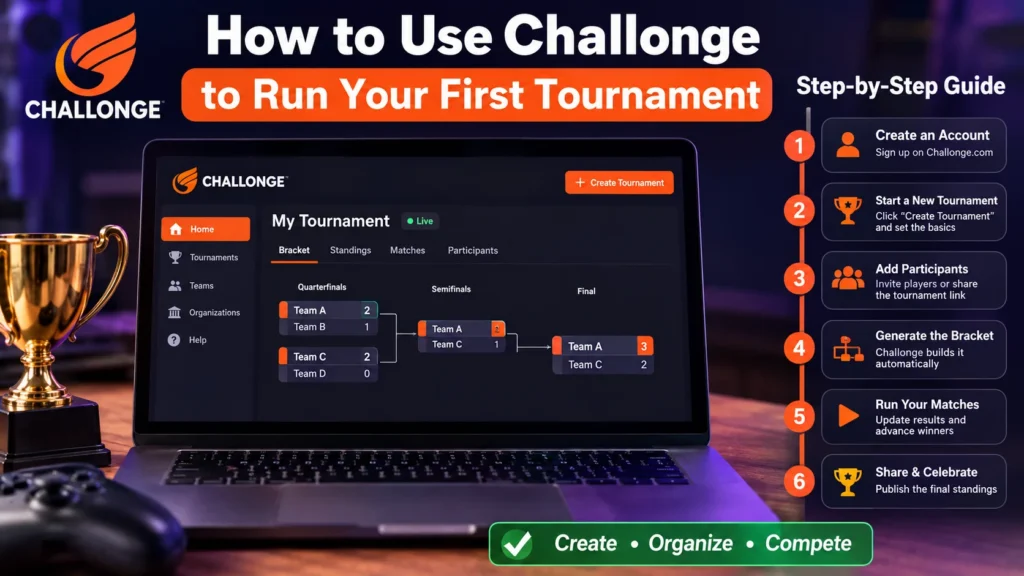
Step 1: Create Your Account and Set Up a Community
Sign-up takes about a minute; no download is required since everything runs in the browser. Once you’re in, Challonge groups your tournaments under “communities,” which act like a hub for a specific game, league, or organization. If you’re only running a one-off event, you can skip building out a full community and jump straight to creating a bracket.
Step 2: Choose Your Bracket Format
This is the part people usually get stuck on. Challonge supports several formats, so pick based on how forgiving you want the competition to be:
- Single elimination: One loss and you’re out. Fast, but not very forgiving.
- Double elimination: Players get a second chance after one loss, only eliminated after a second.
- Round robin: Everyone plays everyone, good for smaller groups where you want a clear overall ranking.
- Swiss: Players are paired against opponents with similar records each round, with no repeat matchups. Useful for large fields where a full bracket isn’t practical.
- Free-for-all / group stage: Multiple participants compete in the same match, with one or more advancing.
For a casual event with under 16 players, single or double elimination is usually enough. Once you’re past 30+ participants, Swiss format saves a lot of time.
Step 3: Add Participants
You can add players manually, import a list, or open registration so people sign themselves up through a public link. If you’re running something with sign-up fees or team rosters, there’s built-in support for that too, so you’re not chasing payments through a separate app. Seeding is optional but worth doing if you already know skill levels going in; it keeps the strongest players apart in early rounds.
Step 4: Run the Bracket and Report Scores
Once the bracket is live, matches display automatically as players advance. Either the organizer or the players themselves (if you allow it) can report scores, and the bracket updates in real time. There’s also a match chat feature, so opponents can coordinate details like start times without needing a separate group chat.
Step 5: Share and Embed
A finished or in-progress bracket can be shared as a public link, and Challonge also offers an API for embedding brackets directly into a website, Discord bot, or custom app. This matters most for larger communities running recurring events who want the bracket to live somewhere other than the Challonge site itself.
Free vs. Paid
The core bracket-building tools are free, and there’s no cap on how many basic tournaments you can run. Paid tiers add things like custom branding, ad removal, and more advanced tournament settings. For a casual or first-time event, the free tier covers everything you actually need.
A Few Honest Limitations
Worth knowing before you commit: the mobile experience isn’t as polished as some newer competitors, and if you need sport-specific scheduling (think league standings across a season, not just single-elimination brackets), you may find yourself wanting more than Challonge offers out of the box. It’s built first for gaming and esports, and it shows.