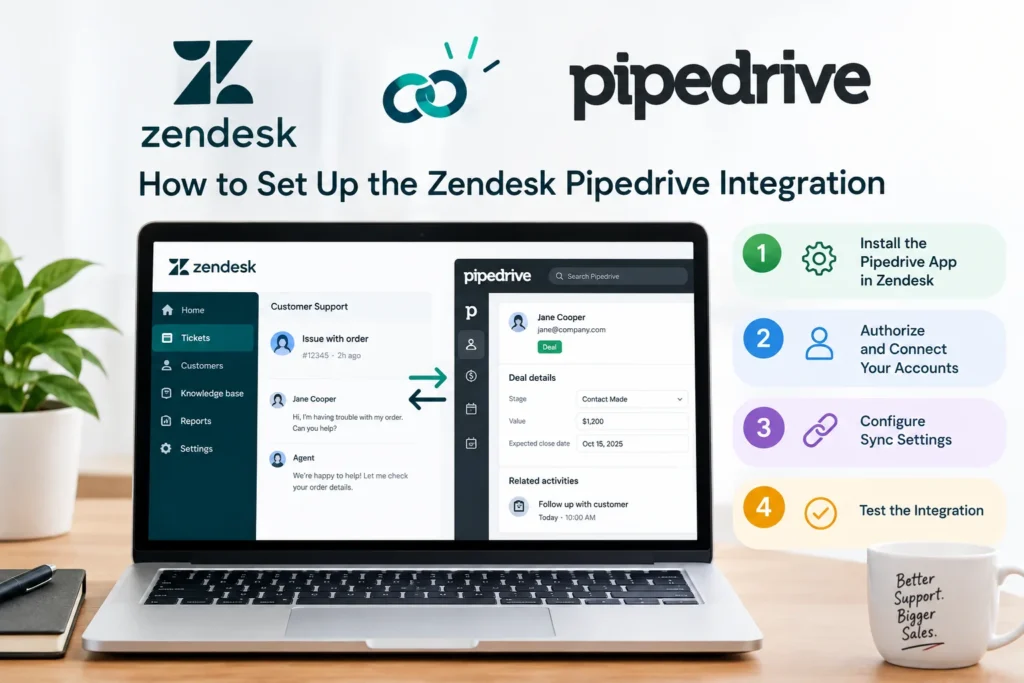
How to Set Up the Zendesk Pipedrive Integration
If your sales team is in Pipedrive and your support team lives in Zendesk, you’ve probably run into the same problem: a rep pitches an upsell to a customer who’s been stuck on an open ticket for two weeks, or a support agent has no idea the account they’re troubleshooting is mid-negotiation on a renewal. The fix is a native integration between the two tools, and it’s simpler to set up than most people expect.
This guide walks through the actual installation steps, what data moves between the two platforms once it’s connected, and the issues that trip people up along the way.
What the Zendesk-Pipedrive integration actually does
The integration is a free, two-way connector built by both companies and listed in each marketplace. Once it’s live, Pipedrive users can see Zendesk tickets linked to a contact, organization, or deal and create new tickets directly from a deal page. Zendesk agents get the reverse: Pipedrive deal info shows up right in the ticket sidebar, and agents can spin up a new deal from a support conversation without leaving Zendesk.
It’s worth being clear about what this is not. It’s not a full field-level sync between the two CRMs, and it doesn’t merge your data models. Think of it as a shared window rather than a shared database. That distinction matters later when you’re deciding whether you need a heavier third-party sync tool on top of it.
Before you start
You’ll need admin access to both accounts to complete the install, since it requires authorizing API access on each side. Have your Zendesk subdomain (the “yourcompany” part of yourcompany.zendesk.com) ready, along with login credentials for both platforms.
Step-by-step setup
Step 1: Install the app from Pipedrive.
Log into Pipedrive, open the Marketplace, and search for “Zendesk.” Click Install now, then choose which Pipedrive account you want to connect (relevant if you manage more than one).
Step 2: Authenticate with Zendesk
After clicking Allow and install, you’ll land on a page asking for your Zendesk domain. Enter it and click Authenticate with Zendesk. This redirects you to a Zendesk login screen where you’ll grant Pipedrive permission to access your account.
Step 3: Install the companion app in Zendesk.
The Pipedrive side alone isn’t enough. Go to the Zendesk Marketplace, search for “Pipedrive,” and click Install. Pick the Zendesk account you want it tied to, review the permissions listed, and confirm.
Step 4: Log into Pipedrive from inside Zendesk.
Open any existing ticket in Zendesk. In the app panel on the right, click Login to Pipedrive and select the account you connected in Step 1.
Step 5: Verify the connection
Once both sides show as authenticated, open a deal in Pipedrive with a linked contact who has support history. You should see Zendesk tickets appear in the sidebar. Do the same check from a Zendesk ticket to confirm deal data shows up there too.
Most teams with admin access on both platforms get through all five steps in under 15 minutes. If a step stalls, it’s almost always a permissions issue: the account doing the install needs admin rights in that specific tool, not just a regular user seat.
What data syncs, and what doesn’t
Once connected, Pipedrive shows Zendesk ticket status, subject line, and a link to open the full ticket, tied to whichever contact or organization the ticket’s requester matches. Zendesk shows the reverse: open deals, deal value, and stage, tied to the person who submitted the ticket.
What it does not do is sync custom fields between the two systems, merge duplicate contact records, or backfill historical tickets and deals from before the connection went live. If your workflow depends on, say, a deal stage automatically triggering a ticket priority change, that’s outside the native integration’s scope. Teams that need that level of automation typically add a third-party tool like Zapier or Make on top of the native connector, using it for the conditional logic while the native integration handles the visibility layer.
Common setup problems
“Authenticate with Zendesk” doesn’t redirect properly.
This usually means the Zendesk subdomain was entered wrong. Double-check it doesn’t include “https://” or “.com”—just the subdomain itself.
Tickets or deals aren’t showing up in the sidebar.
Check that the contact’s email address matches exactly between the two systems. The integration links records by matching the requester’s email to a Pipedrive person, so even a small formatting difference (a typo or one system storing a secondary email that the other doesn’t recognize) will break the match.
Only one direction of the integration seems to work.
This happens when someone completes Step 1 and Step 2 but skips installing the companion app in the Zendesk Marketplace. Both installs are required. It’s a two-app connector, not one app with two-way permissions.
The connection worked, then stopped.
Usually an expired or revoked authentication token, often triggered by a password change on one of the accounts. Reauthenticate from the app panel on the side that stopped working.