
How to Use TouchCopy: A Step-by-Step Guide
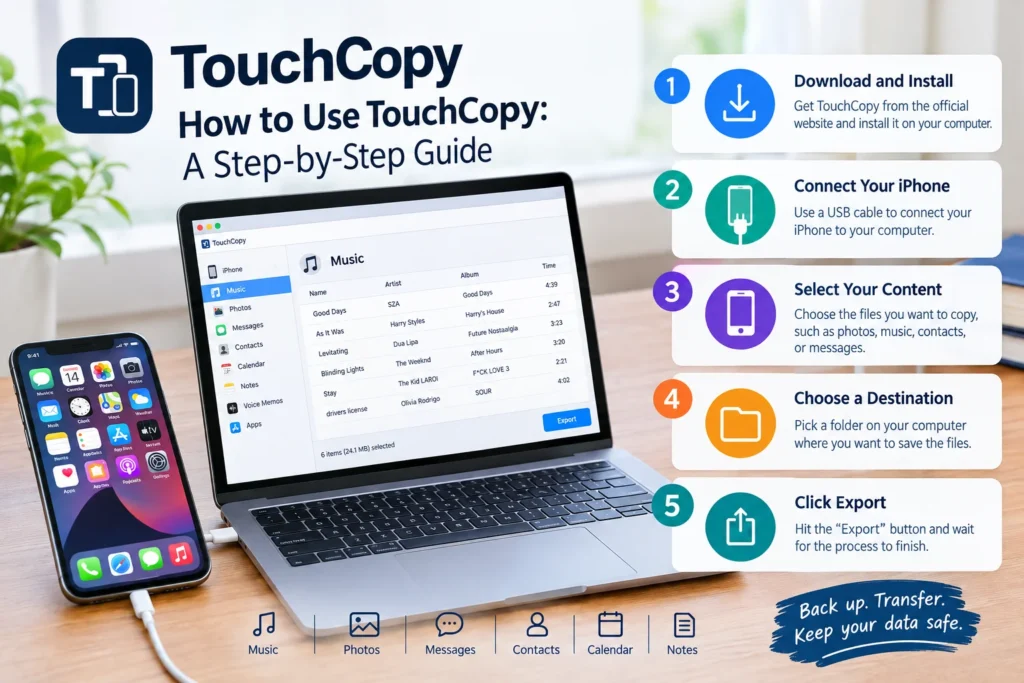
If you’ve ever plugged an iPhone into a computer and just wanted your photos, texts, or music copied over without wrestling with iCloud storage limits, you’ve probably run into TouchCopy. It’s a desktop app from Wide Angle Software built specifically to pull content off an iPhone, iPad, or iPod and drop it onto a PC or Mac, no cloud account required.
This guide walks through the whole process: installing it, connecting your device, and moving each type of content over. It also covers the fixes for the problems people run into most often.
What Is TouchCopy, Exactly?
TouchCopy is a file-transfer utility, not a backup or sync tool in the iCloud sense. You install it on your Windows PC or Mac, connect your iOS device with a USB cable (or Wi-Fi, once it’s set up), and it shows you everything on the device: photos, videos, music, messages, contacts, notes, calendars, voicemail, and voice memos. From there, you pick what you want and copy it to a folder, into iTunes, or directly into the Photos app on Mac.
The reason people reach for it instead of Apple’s built-in options usually comes down to control. Apple’s own tools work fine for straightforward jobs, but TouchCopy adds things like exporting text message threads as PDFs, recovering recently deleted photos, and merging separate iTunes libraries.
Before You Start: Download and Install
Head to Wide Angle Software’s site and download the version for your operating system. Installation is standard: run the installer, accept the license terms, and let it finish. You won’t need to install anything on the iPhone or iPad itself.
The first time you open it, TouchCopy runs in demo mode. That’s enough to see how it works and copy a limited number of files for free. If you’ve already bought a license, enter your activation code under the software’s settings to unlock full functionality.
One thing worth knowing upfront: on a PC, having iTunes installed helps TouchCopy detect your device correctly, since it relies on some of the same USB drivers.
Step 1: Connect Your Device
Plug your iPhone, iPad, or iPod into your computer with a USB cable. A prompt on the device will ask whether to trust this computer. Tap Trust and enter your passcode if needed.
TouchCopy should detect the device within a few seconds and load its contents into the main window. If it doesn’t show up:
- Make sure the cable itself isn’t the problem. Faulty or charge-only cables are a common culprit.
- Unlock the device and keep it unlocked during the initial connection.
- On a PC, check that Apple Mobile Device Support is installed (it usually comes bundled with iTunes).
- Try a different USB port, ideally one built into the computer rather than a hub.
Once connected, you can also set up Wi-Fi transfers so you’re not tethered by cable every time, though the first connection needs to happen over USB.
Step 2: Transfer Photos and Videos
Click into the Photos section once your device is connected. You’ll see your camera roll, albums, and any live photos or screenshots, organized the way they appear on your phone.
Select what you want, either individually, by album, or all at once with Ctrl+A (Windows) or Cmd+A (Mac). Then:
- Click Save to PC (Windows) or Copy to Mac to send files to a folder on your hard drive.
- Click Copy to Photos if you want items to land directly in the Mac Photos app instead of a plain folder.
TouchCopy keeps your original photo quality and preserves album structure, so a folder named “Summer Trip” on your phone stays a folder named “Summer Trip” on your computer, unless you turn that off in preferences. It also handles HEIC and ProRAW files without converting them unless you ask it to.
Step 3: Copy Music, Playlists, and Podcasts
Switch to the Music tab to see everything stored in your device’s music library. Select the songs, playlists, or podcasts you want, then choose either
- Save to PC/Mac, which copies the raw audio files to a folder you pick, or
- Copy to iTunes (or the Music app on newer macOS versions), which adds them straight into your library, album art and play counts intact.
This is genuinely useful if you’ve lost music that only ever existed on an old iPod and never made it into a computer’s library. TouchCopy can pull it back out and put it somewhere safe.
Step 4: Back Up Messages, Contacts, and Notes
For text conversations, open the Messages section. You can view full threads, including photos shared inline, and export them as PDF, HTML, or plain text. This comes in handy for anything from saving a sentimental conversation to producing records for a legal or work situation.
Contacts and notes work similarly. Contacts can be exported as individual vCards or bundled into one CSV file if you’d rather manage them in a spreadsheet. Notes copy out as text files you can open on either platform.
Common Problems and Quick Fixes
A few issues come up often enough to mention directly:
TouchCopy doesn’t detect the device. Reconnect the cable, unlock the phone, and confirm you tapped Trust. Restarting both the app and the device usually clears this up if it persists.
The transfer gets stuck partway through. This is typically a large file (long videos are the usual suspect) or a connection dropping mid-copy. Try transferring in smaller batches and keep the device from locking during the process.
Messages or contacts aren’t showing up. Make sure the device isn’t restricted by Screen Time or a management profile that blocks data access from third-party apps. A quick reconnect often fixes this too.
Demo mode limits are getting in the way. That’s expected behavior, not a bug. You’ll need an activation code to remove the trial restrictions.
TouchCopy vs. Apple’s Built-In Tools
It’s worth being upfront about this: for basic photo transfers, Apple already gives you a way to do it without any third-party software. Apple’s own guidance on moving photos and videos to a Mac or PC covers using the Photos app and a USB cable, and it works well for that one job. <sup>[1]</sup>
Where TouchCopy earns its place is everything Apple’s built-in tools don’t handle well: exporting message threads in a readable format, recovering recently deleted photos, merging iTunes libraries, or moving music from an old iPod that predates your current computer setup. If your needs are photos-only and simple, Apple’s method is free and sufficient. If you need more control over messages, contacts, or older media, that’s where a dedicated tool earns its keep.