
How to Convert HEIC Photos to JPG with iMazing
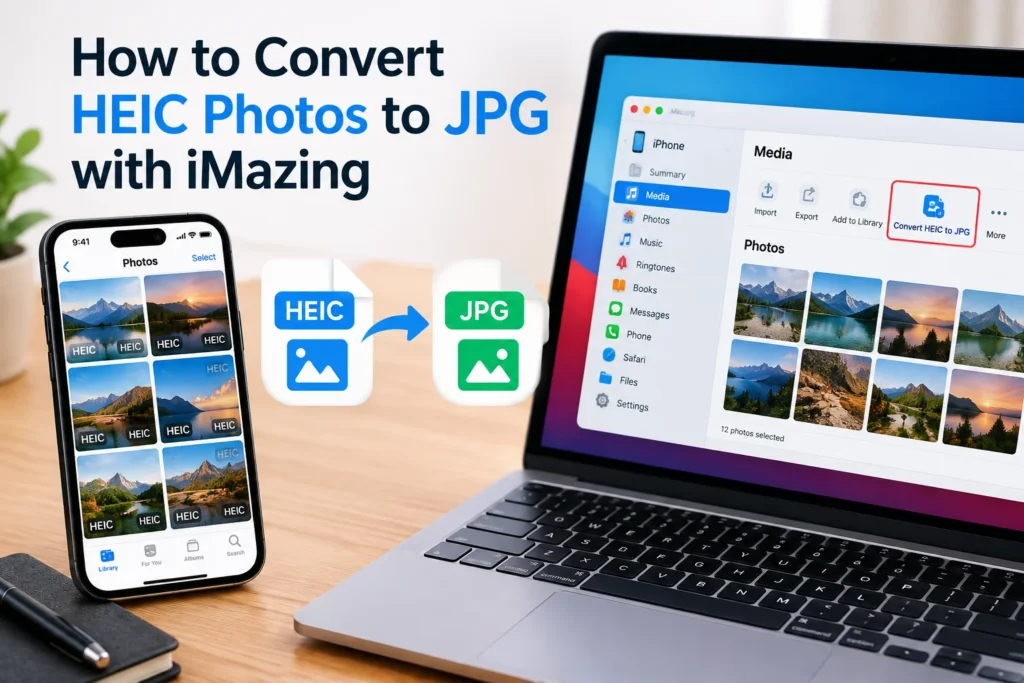
If you’ve ever airdropped a photo off your iPhone, then tried to open it on a Windows laptop only to get a blank thumbnail or an “unsupported format” error, you’ve met HEIC. Apple switched to this format back in iOS 11, and while it’s genuinely a smarter way to store photos, it doesn’t play nicely everywhere. iMazing’s free converter is one of the simplest ways to fix that, and this guide walks through exactly how to use it.
Why HEIC photos won’t open everywhere
Apple introduced the HEIF/HEIC photo format and HEVC video format with iOS 11 in late 2017, and the trade-off was deliberate: smaller files, same or better quality. Many older computers, apps, and devices simply don’t support these newer formats yet. Windows is usually the biggest headache here. Windows users need Microsoft’s free HEIF Image Extension just to view HEIC files and the HEVC Video Extension (which isn’t free) to handle the videos. Even then, plenty of websites, older apps, and print services still expect a plain JPG.
That’s where a converter comes in. You’re not “fixing” a broken file; you’re just giving it a second copy in a format that everything can read.
What iMazing Converter actually does
iMazing Converter is a free, standalone app from DigiDNA (the company behind the full iMazing iPhone manager), and it’s built specifically for this one job: turning HEIC into JPEG or PNG and HEVC video into MP4. A few details worth knowing before you download it:
- It’s genuinely free, not a trial. No account, no watermark on your photos.
- It works offline. Everything happens on your own Mac or PC; nothing uploads to a server, which matters if your photos have location data or anything personal in them.
- It keeps your EXIF metadata (camera settings, date, and sometimes GPS location) when you convert to JPEG, unless you choose to strip it.
- It handles batches. Drag in a whole folder, not just one photo at a time.
If you already own the full iMazing app for managing your iPhone, you don’t need to download anything separate. The converter is built in, accessible from the Tools menu, and it can even convert HEIC files automatically as you import photos from your phone.
Step-by-step: converting HEIC to JPG
Here’s the actual process, whether you’re on a Mac or a PC:
- Download iMazing Converter for your platform and install it.
- Launch the app. You’ll see a simple, mostly empty window waiting for files.
- Drag and drop your HEIC files (or a whole folder of them) onto the window.
- Choose your output settings. You can pick JPEG or PNG, adjust the quality/compression level, and decide whether to keep or discard EXIF data.
- Click Convert, then choose where you want the finished files saved.
- Wait for the progress bar. Larger batches take longer, but it’s not slow by any measure; a few hundred photos usually finish in well under a minute on a modern machine.
A couple of things I’d actually recommend adjusting: if privacy matters to you (say, you’re sending photos to someone you don’t know well), uncheck “Keep EXIF data” so GPS coordinates don’t tag along. And if you’re archiving photos rather than just sharing them, PNG will give you a lossless copy, though the files will be noticeably bigger than JPEG.
JPEG or PNG? Which should you pick?
Most people should just pick JPEG. It’s smaller, universally supported, and at a high-quality setting (90-100%); the difference from the original is invisible to the eye. PNG is lossless, so it’s the better call only if you’re doing something like archival storage or further photo editing where you don’t want any compression at all.
What if you don’t want to install anything?
Fair enough, not everyone wants another app on their machine. macOS actually has a few built-in options: open the file in Preview and use File > Export, use the Photos app’s export function, or right-click a HEIC file in Finder and choose Convert Image under Quick Actions. These work fine for the occasional single photo, but they don’t give you batch conversion or control over JPEG quality, which is really where iMazing pulls ahead if you’re dealing with more than a handful of files.





1 thought on “How to Convert HEIC Photos to JPG with iMazing”