
DFU Mode on MacBook: What It Is & How to Use It
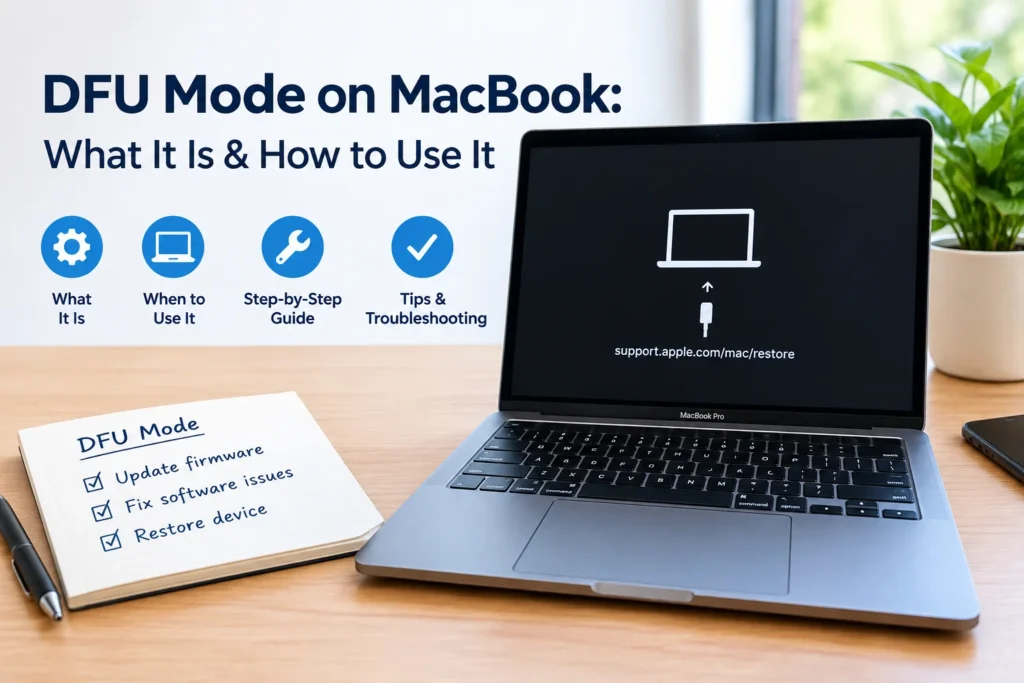
If your MacBook won’t boot, got stuck mid-update, or won’t respond to any of the usual fixes, you may eventually run into a suggestion to “put it in DFU mode.” It sounds intimidating, and honestly, it kind of is. DFU is the deepest, most low-level recovery state a Mac has. But it’s also a genuine lifesaver when nothing else works.
Here’s what it actually does when you need it and how to do it correctly on both Apple Silicon and Intel MacBooks.
What DFU Mode Actually Is
DFU stands for Device Firmware Update. It’s a hardware-level state, not a software one; it’s built into the Mac’s security chip (the T2 chip on older Intel MacBooks or the Apple Silicon SoC on M-series models) rather than being part of macOS itself. When a Mac is in DFU mode, it doesn’t boot anything at all. No Apple logo, no progress bar, no login screen—just a black screen.
That blank screen is actually the point. DFU bypasses macOS entirely so a second Mac, running Apple Configurator, can talk directly to the security chip and rewrite its firmware from scratch.
It’s easy to confuse this with macOS Recovery Mode, but they’re not the same thing. Recovery Mode boots a small, working recovery system from a hidden partition on your drive it’s still “your Mac,” showing you a screen and options. DFU mode doesn’t rely on that partition at all. If Recovery Mode itself is corrupted or won’t load, DFU is usually the next step.
When You’d Actually Need It
Most people will never touch DFU mode. It’s specifically for situations like
- A failed or interrupted macOS update that leaves the firmware in a broken state
- A Mac that won’t boot at all, even into Recovery Mode
- Persistent charging or power issues, since the security chip manages power delivery, and a firmware restore can reset that
- A Mac stuck in a boot loop that other troubleshooting hasn’t fixed
If your Mac still boots normally, or if Recovery Mode (holding the power button until you see “Loading startup options”) gets you into a working menu, you almost certainly don’t need DFU. Try that route first.
What You’ll Need Before You Start
DFU mode isn’t something you do alone on one machine. You’ll need:
- A second, working Mac running Apple Configurator, with the latest version of macOS Configurator, can support
- A USB-C cable (data-capable, not just a charging cable)
- Both Macs plugged into power for the whole process
- The second Mac connected to the internet, so it can download the firmware it needs
The cable has to go into a specific port on the Mac you’re trying to fix, not just any USB-C port. On most Apple Silicon MacBook Airs and Pros, that’s the leftmost port when you’re facing the left side of the machine, though Apple has changed this on a few newer models (some 2025 MacBook Airs moved it to the right side, for instance). If the host Mac doesn’t detect anything, that mismatched port is the most common reason. Try the other side before assuming something’s wrong.
How to Enter DFU Mode on an Apple Silicon MacBook
- Shut the MacBook down completely.
- Connect the USB-C cable from the correct port on the MacBook to any USB-C port on the host Mac.
- Press and hold the power button until you’re sure the Mac is off (if it turns on instead, just repeat this step).
- Press and release the power button, then immediately press and hold Control (left side) + Option (left side) + Shift (right side) + Power together.
- Hold all four keys for about 10 seconds, then release everything except the power button.
- Keep holding the power button for another 10 seconds or so.
- On the host Mac, Apple Configurator should now show a DFU window. The MacBook’s screen stays black the entire time that’s normal.
How to Enter DFU Mode on an Intel MacBook with a T2 Chip
The setup is the same, but the key-holding timing is much shorter:
- Shut down the MacBook and connect the cable as above.
- Press and release the power button, then immediately hold Control + Option + Shift + Power together.
- Hold for about 3 seconds, then release all the keys at once.
- Check the host Mac for the DFU window in Apple Configurator.
Timing matters more than people expect here. A second too long or too short on the Apple Silicon sequence, and it just won’t register. If that happens, don’t panic; just shut down and try again from the top.
Reviving vs. Restoring
Once Apple Configurator detects your Mac in DFU mode, you’ll usually get two options:
- Revive attempts to repair the firmware without erasing anything. This is the safer option and worth trying first.
- Restore wipes the Mac and reinstalls firmware and macOS from scratch. It’ll fix nearly anything, but you lose all local data that wasn’t backed up.
If Revive doesn’t resolve the issue, Restore is the fallback; just go in knowing it’s a clean slate.
Common Problems People Run Into
The two most frequent snags are using the wrong port and mistiming the key sequence. Both are easy to fix by just starting over calmly. A less obvious one: if the host Mac isn’t online, Configurator can’t pull the firmware files it needs, so double-check that connection before you start the key sequence, not after.








1 thought on “DFU Mode on MacBook: What It Is & How to Use It”